


Bike Flashlights: A Guide
A bike flashlights, often referred to as a bike light or headlight, is an essential accessory for cycling, providing illumination for the cyclist and increasing visibility to others, especially in low-light conditions or during night riding. Bike flashlights contribute significantly to safety on the road or trails by allowing riders to see and be seen by pedestrians, other cyclists, and motorists.
Why its neccessary to have good bike flashlight
Having a good bike flashlight is crucial for several key reasons, especially if you're riding in low-light conditions or during the night. Here are the main reasons why investing in a quality bike flashlight is necessary:
1. Visibility
- For You: A good bike flashlight illuminates the path ahead, helping you see obstacles, road conditions, and hazards. This is vital for avoiding accidents and navigating safely.
- For Others: It also makes you more visible to other road users, including drivers, pedestrians, and other cyclists. Being seen is often as important as seeing, reducing the risk of collisions.
2. Legal Requirements
- In many places, having front and rear lights on your bike is a legal requirement when riding during nighttime or in low-light conditions. A good flashlight can help you comply with these laws and avoid potential fines.
3. Enhanced Riding Experience
- With a reliable light source, you can extend your riding times into the early morning or late evening hours, making cycling more accessible and enjoyable. It opens up the opportunity for night rides, which can be a unique and exhilarating experience.
4. Emergency Situations
- A good bike flashlight can be a critical tool in emergency situations. If you get lost or need to make repairs in the dark, a flashlight can be indispensable for signaling for help or performing tasks.
5. Durability and Reliability
- High-quality bike flashlights are designed to withstand the rigors of cycling, including vibrations, impacts, and adverse weather conditions. Investing in a good flashlight means you can rely on it to work when you need it most.
History of Bike Flashlights
The history of bike flashlights, or bike lights, is deeply intertwined with the evolution of bicycles themselves and the ongoing quest for cyclist safety and convenience. As bicycles became a popular mode of transportation in the late 19th and early 20th centuries, the need for effective lighting to ensure visibility during nighttime or low-light conditions became apparent. Here's a brief overview of the evolution of bike flashlights:
Early Developments
- Candle Lamps: The earliest forms of bike lights were candle lamps, which used actual candles to provide illumination. These were obviously limited in terms of light output and reliability.
- Carbide Lamps: In the late 19th and early 20th centuries, carbide lamps became popular for bicycles. These lamps used a chemical reaction between calcium carbide and water to produce acetylene gas, which was then ignited to produce a bright flame. Carbide lamps were a significant improvement in terms of brightness and reliability over candle lamps.
Mid-20th Century Advances
- Dynamo Systems: The development of dynamo-powered lights marked a significant advance. Dynamos generate electrical power through the movement of the bicycle, eliminating the need for separate batteries. Early dynamos were often inefficient and could add noticeable resistance to pedaling, but they were a step forward in providing reliable, renewable lighting.
Modern Innovations
- LED Lights: The advent of LED (Light Emitting Diode) technology has revolutionized bike lighting. LED lights are far more efficient, durable, and brighter than previous lighting solutions. They can run on small batteries for extended periods, making them highly practical for everyday use.
- Rechargeable Systems: Modern bike lights often feature rechargeable batteries, with USB charging becoming standard. This has made bike lights more convenient, environmentally friendly, and cost-effective over the long term.
- Smart Features: Recent developments include smart lights that adjust brightness based on ambient light conditions or the bike's speed, integrated brake lights, and turn signals for enhanced safety and visibility.
Types of Bike Flashlights
Bike flashlights, essential for night riding and low-light conditions, vary widely in their design, functionality, and features. They not only illuminate the path ahead but also ensure that cyclists are visible to other road users, significantly enhancing safety. Here's an overview of the primary types of bike flashlights available:
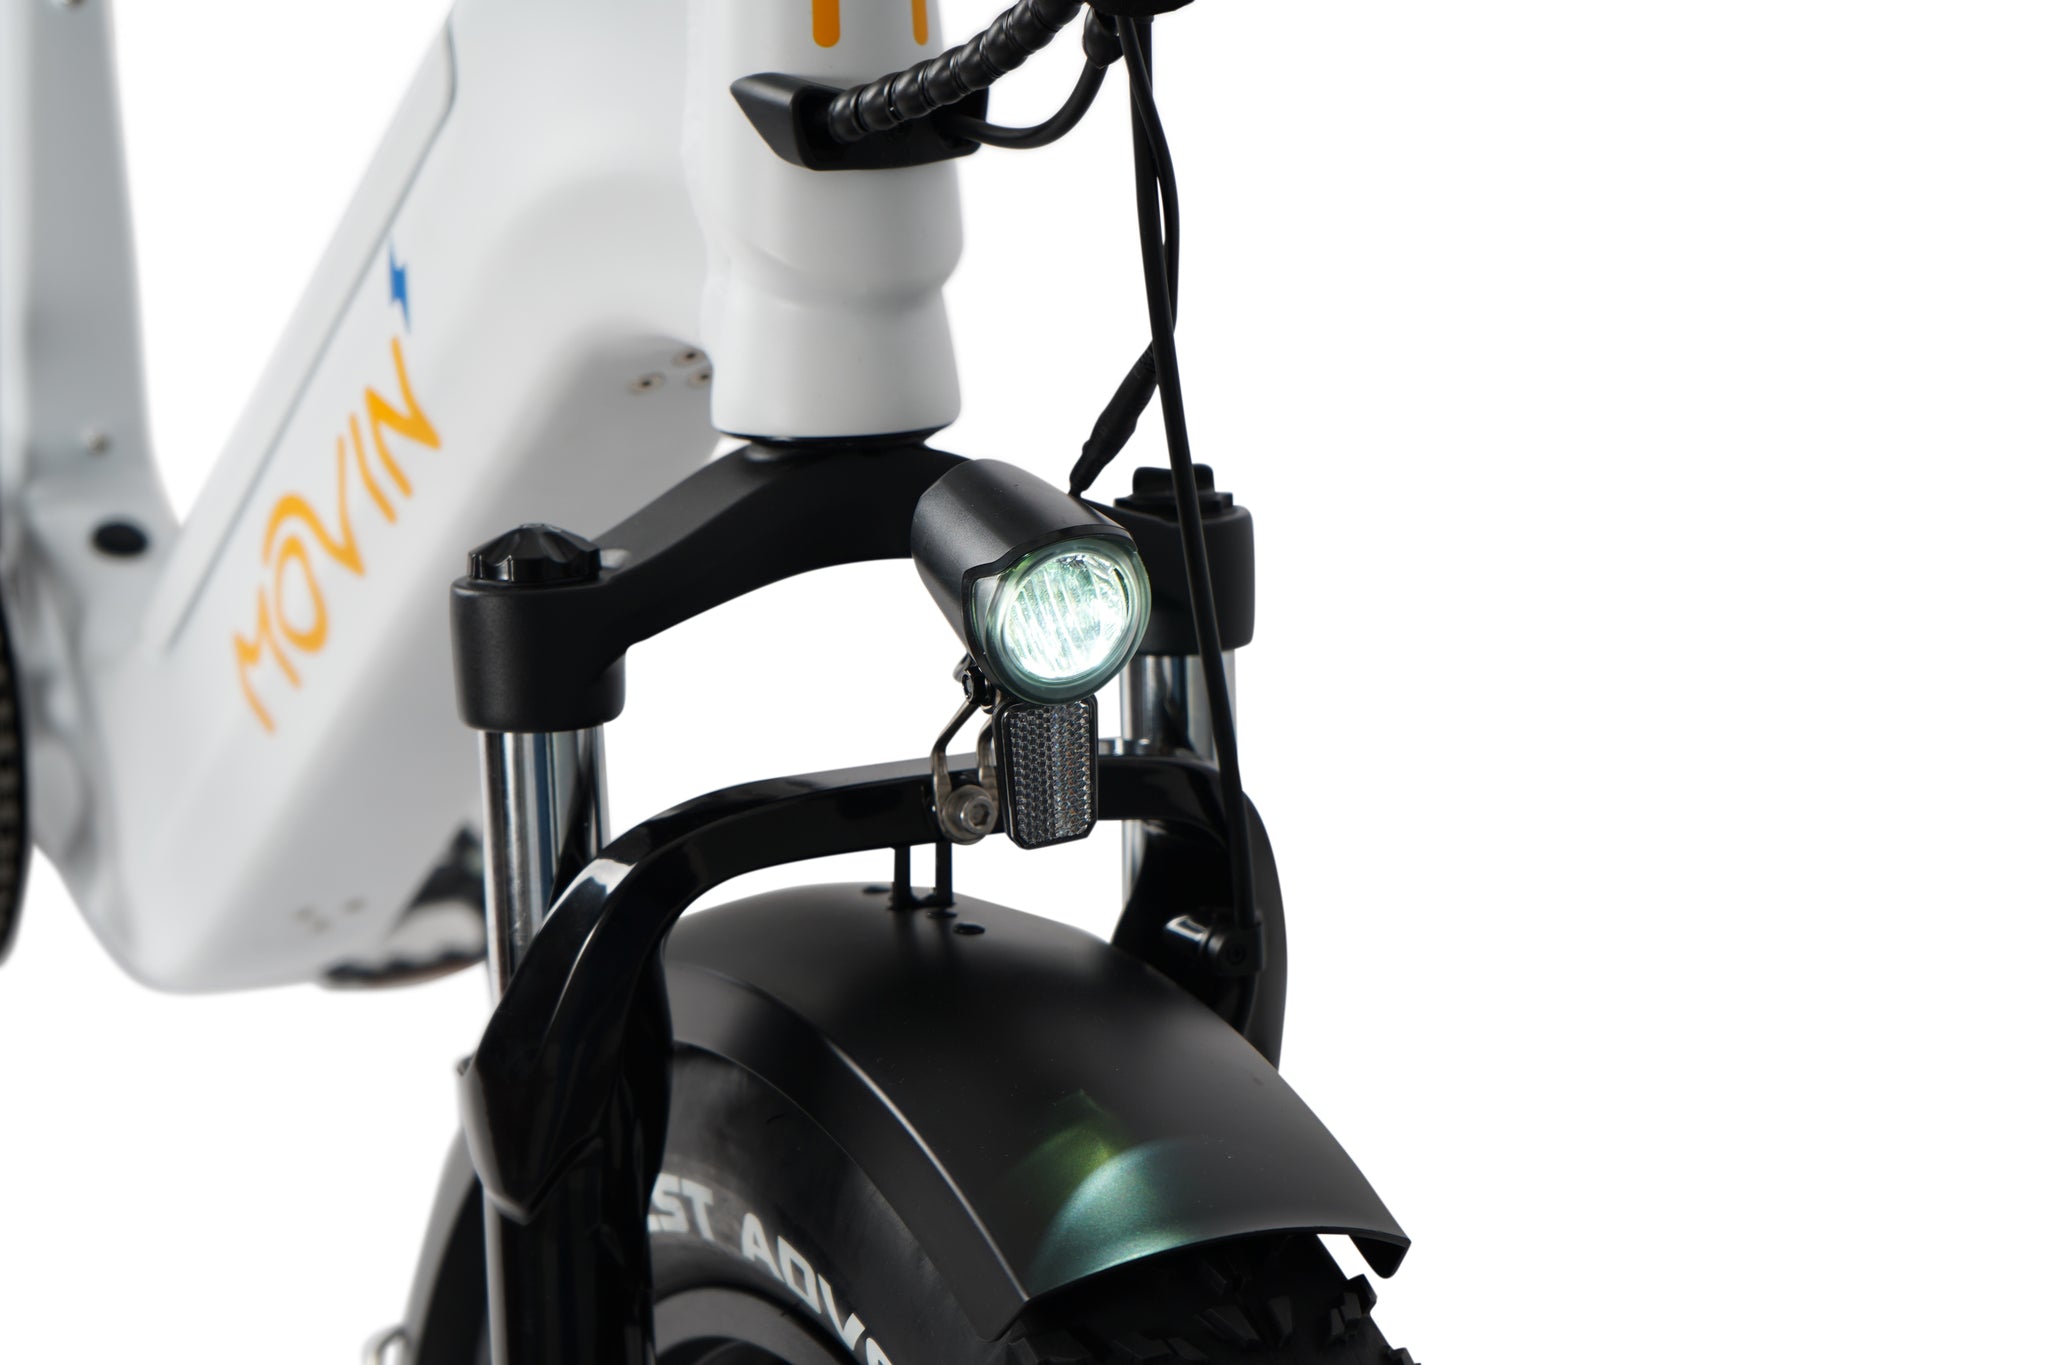
1. Front Lights
- Purpose: To illuminate the path in front of the cyclist and make the cyclist visible to oncoming traffic.
- Features: These lights are typically white and vary in brightness, measured in lumens. Higher lumens mean brighter light. Many models offer different modes, such as steady, flashing, and pulsing, to adapt to various riding conditions and preferences.
2. Rear Lights
- Purpose: To make the cyclist visible from the back. These are crucial for safety, especially on roads shared with motor vehicles.
- Features: Rear lights are usually red and can be set to steady or flashing modes. Flashing red lights are highly effective at catching the attention of drivers and other road users behind the cyclist.
3. Helmet-Mounted Lights
- Purpose: To provide additional visibility and illuminate the direction the cyclist is looking, rather than the direction the bike is pointing.
- Features: These lights are typically smaller and lighter than front lights. They can be particularly useful for mountain biking or road cycling to see further into turns or to be seen by others from a higher vantage point.
4. Safety Lights
- Purpose: To enhance visibility without necessarily illuminating the path. These can be attached to the cyclist, the bike frame, or accessories like backpacks and helmets.
- Features: Safety lights are generally smaller, can be multi-colored, and often feature flashing modes. They serve as an additional measure to ensure visibility to others.
5. Dynamo Lights
- Purpose: To offer a reliable, battery-free lighting solution powered by the cyclist's pedaling.
- Features: These lights are powered by a dynamo hub in the front wheel or a bottle dynamo that runs against the tire. They provide a steady light output that increases with the bike’s speed and are ideal for long-distance touring or commuting as they do not require battery changes or recharging.
6. USB Rechargeable Lights
- Purpose: To provide a convenient, rechargeable option that can be easily topped up.
- Features: USB rechargeable lights eliminate the need for disposable batteries. They can be charged from any USB power source, making them eco-friendly and cost-effective over time.
7. Smart Lights
- Purpose: To offer advanced features such as automatic brightness adjustment, motion sensing, and connectivity with smartphones for performance tracking and customization.
- Features: Smart bike lights can adjust their brightness based on ambient light conditions or the bike’s speed. Some can even signal braking or turning when paired with appropriate sensors or smartphone apps.
How to choose the right bike flashlight
Choosing the right bike flashlight is crucial for safety and visibility, whether you're commuting, road biking, or mountain biking after dark. A suitable flashlight not only helps you see the path ahead but also ensures that others can see you. Here's a guide to help you select the right bike flashlight for your needs:
1. Brightness
- Lumens: The brightness of bike lights is measured in lumens. For city riding, where there are streetlights, 100 to 500 lumens may be sufficient. For darker conditions or off-road biking, you might want something more powerful, ranging from 600 to 1000 lumens or more.
- Beam Pattern: Consider whether the light offers a focused beam for distance or a wide beam for illuminating a broader area. Some lights offer adjustable beam patterns.
2. Battery Life
- Duration: Look for a light that offers enough battery life for your longest rides, with some reserve for emergencies. Battery life often varies based on the brightness setting.
- Battery Type: Rechargeable lithium-ion batteries are common in higher-end models. They're cost-effective over time and convenient. Some lights use standard AAA or AA batteries, which can be handy for easy replacement.
3. Mounting Options
- Ease of Installation: A good bike flashlight should be easy to mount and remove, especially if you need to take it off to prevent theft or for charging.
- Compatibility: Check that the mounting system is compatible with your bike's handlebars or frame, considering the diameter and shape.
4. Durability and Build Quality
- Weather Resistance: Ensure the flashlight is weather-resistant or waterproof, especially if you'll be riding in rain or wet conditions.
- Construction: A durable construction, often aluminum or reinforced plastic, can withstand vibrations, drops, and rough handling.
5. Modes and Features
- Lighting Modes: Multiple modes (high, medium, low, flashing) can be useful for different conditions. Flashing modes are particularly good for being seen by others during the day or in urban settings.
- Smart Features: Some lights come with additional features like auto brightness adjustment based on ambient light, low battery indicators, or even Bluetooth connectivity to control the light via a smartphone app.
6. Size and Weight
- Portability: If you're a commuter or you often ride in different conditions, consider the size and weight of the flashlight. A compact, lightweight design is easier to carry and less obtrusive on the bike.
7. Price and Brand
- Budget: Set a budget based on how frequently you ride and what features are most important to you. Investing in a high-quality light can enhance your safety and is generally worth the cost in the long run.
- Reputable Brands: Opt for well-known and reputable brands. They are more likely to offer reliable, durable products with good warranty support.

Average lifespan for bike flashlight
The average lifespan of a bike flashlight depends on several factors, including the quality of the flashlight, frequency of use, conditions under which it's used, and how well it's maintained. Generally, a high-quality bike flashlight can last anywhere from 2 to 5 years or more before needing replacement due to wear, diminished battery performance, or advancements in technology that might make newer models more appealing.
-
Build Quality: Flashlights made from durable materials like aluminum or high-quality plastics, and with waterproof or weather-resistant features, tend to last longer.
-
Battery Type: The lifespan of a flashlight's battery is a critical factor. Rechargeable lithium-ion batteries, common in many bike flashlights, typically last for 300 to 500 charge cycles before they start losing their capacity. The overall lifespan of the battery will depend on how often the flashlight is used and recharged.
-
Usage Frequency: Frequent use, especially on rough terrain that exposes the flashlight to vibrations and impacts, can shorten its lifespan.
-
Maintenance: Regular cleaning and proper storage can extend the life of a bike flashlight. Keeping the battery charged and storing the flashlight in a cool, dry place when not in use are good practices.
-
Technological Advancements: Even if a bike flashlight is still functional, advancements in technology may render it obsolete. New models might offer better brightness, longer battery life, lighter weight, or additional features that justify an upgrade.
While the average lifespan of a bike flashlight can vary widely, investing in a high-quality model and taking good care of it can ensure it serves you well for many years. Advances in technology and changing personal needs might influence the decision to upgrade more so than the flashlight ceasing to function.
How to replace bike flashlight
Replacing a bike flashlight usually involves selecting a new flashlight that meets your needs and attaching it to your bike, often on the handlebars or another suitable location. Here's a straightforward guide on how to replace your bike flashlight, focusing on choosing a new light and mounting it securely:
1. Choose the Right Bike Flashlight
Before removing the old flashlight, you'll need to select a new one. Consider the factors discussed previously, such as brightness (lumens), battery life, mounting system, durability, and any additional features you find useful. Ensure the new flashlight is compatible with your bike and suits the conditions you typically ride in.
2. Remove the Old Flashlight
- Unscrew or Unclip: Most bike flashlights are attached via a bracket that's screwed onto the handlebars or clipped in place. Use a screwdriver if necessary or simply unclip the flashlight from its mount.
- Clean the Area: Once the old flashlight is removed, clean the area on the handlebars where it was mounted. This is a good opportunity to inspect the handlebars for any wear or damage.
3. Prepare the New Flashlight for Mounting
- Check the Mounting System: Review the mounting system of your new flashlight. Some use rubber straps or clips for easy installation, while others might have a more permanent bracket that screws in place. Make sure you have any tools required for the installation.
- Adjust the Bracket if Necessary: If the new flashlight comes with an adjustable bracket, you might need to adjust it to fit the diameter of your handlebars. Some flashlights come with spacers to accommodate different sizes.
4. Mount the New Flashlight
- Positioning: Decide where on the handlebars (or elsewhere on the bike) you want to mount the new flashlight. It should be in a position where it illuminates the road or trail ahead without obstructing your view or access to controls.
- Secure the Mount: Follow the manufacturer's instructions to secure the mount to your bike. If it uses a clamp and screws, ensure it's tight enough that the light won't move during rides but not so tight as to damage the handlebars. For rubber straps or clips, make sure the light is secure and positioned correctly.
- Attach the Flashlight: Once the mount is secured, attach the flashlight itself. This might involve sliding it into the mount, snapping it in place, or securing it with screws.
5. Test the Light
- Check Stability: Make sure the flashlight is firmly attached and does not wobble or pivot unexpectedly.
- Test the Beam: Turn on the flashlight to check its beam pattern and brightness. Adjust the angle if necessary to ensure it illuminates the path ahead effectively without blinding oncoming traffic or riders.
How to use and maintain bike flashlight
Using and maintaining your bike flashlight properly not only ensures your safety during night rides but also extends the life of the flashlight. Here are some tips on how to use and maintain your bike flashlight effectively:
Using Your Bike Flashlight
-
Proper Mounting: Attach the flashlight securely to your bike, typically on the handlebars, to ensure it illuminates your path effectively and doesn't shift while riding. Make sure it's angled correctly to light up the road or trail ahead without blinding oncoming traffic or other cyclists.
-
Choose the Right Mode: Many bike flashlights have multiple modes, such as steady, flashing, or different brightness levels. Use the steady mode for illuminating your path in dark conditions and the flashing mode to enhance your visibility to others in well-lit areas or during daylight.
-
Conserve Battery Life: To extend battery life during rides, use the highest brightness setting only when necessary. If you're riding in well-lit areas, a lower brightness level or flashing mode may suffice.
-
Carry a Backup: For long rides or when riding in remote areas, consider carrying a spare flashlight or at least a backup set of batteries/charger, especially if your flashlight uses rechargeable batteries.
Maintaining Your Bike Flashlight
-
Regular Cleaning: After rides, especially in bad weather, clean your flashlight with a soft cloth to remove dirt and moisture. Ensure the lens is clean for maximum effectiveness.
-
Check the Mount: Periodically check the mount to ensure it's secure and hasn't loosened due to vibration or bumps. Tighten any screws or make adjustments as needed.
-
Battery Care: For rechargeable models, follow the manufacturer's guidelines for charging and storage to maximize battery life. Avoid letting lithium-ion batteries fully discharge; recharge them before they run completely down.
-
Storage: When not in use, store your flashlight in a cool, dry place. If you won't be using it for an extended period, remove the batteries to prevent leakage and damage to the flashlight.
-
Inspect for Damage: Regularly inspect your flashlight for any signs of damage, such as cracks in the lens or casing. Check the functionality of all modes and replace the flashlight if it's no longer working properly.
-
Lubricate Seals: If your flashlight is waterproof or water-resistant, lubricate the O-rings or seals periodically with a silicone-based lubricant to maintain its water resistance.
-
Firmware Updates: For flashlights with programmable features or smart functions, check for firmware updates that might improve functionality or fix bugs.
By following these usage and maintenance tips, you can ensure that your bike flashlight remains a reliable safety tool for your nighttime or low-light rides, providing visibility and helping to protect you from potential hazards.
Best Bike Flashlight brands
When it comes to bike flashlights, there are several brands known for their quality, innovation, and reliability. The best brand for you can depend on your specific needs, such as brightness, battery life, durability, and additional features. Here are three of the top brands that cyclists often recommend for their outstanding bike flashlights:
1. Lezyne
- Overview: Lezyne is renowned for its high-quality cycling accessories, including some of the most durable and innovative bike lights on the market. They offer a wide range of lights suitable for all types of cycling, from urban commuting to off-road adventures.
- Key Features: Lezyne lights often feature solid build quality, excellent waterproofing, and innovative charging solutions, such as USB rechargeability. Their models range from compact and lightweight lights for city riding to high-power models designed for trail riding.
- Why It Stands Out: Lezyne stands out for its attention to design and functionality, offering features like multiple light modes, long battery life, and integrated GPS in some models. Their lights are designed with both safety and performance in mind.
2. NiteRider
- Overview: NiteRider specializes in high-performance lighting solutions for cyclists. They are well-regarded for their powerful, durable bike lights that cater to serious mountain bikers and road cyclists alike.
- Key Features: NiteRider lights are known for their high lumen output, robust construction, and reliable performance in all weather conditions. Many of their lights come with a variety of modes to optimize visibility and battery life.
- Why It Stands Out: The brand is particularly favored by nighttime and off-road cyclists for its focus on producing extremely bright and long-lasting lights. NiteRider offers excellent customer support and warranty services, further enhancing their reputation among cyclists.
3. Cygolite
- Overview: Cygolite is a pioneer in LED bike lighting technology, offering a broad range of bike lights that excel in urban and trail environments. They combine high-performance lighting with great value, making them accessible to a wide range of cyclists.
- Key Features: Cygolite lights are appreciated for their brightness, durability, and battery efficiency. They often feature innovative lighting modes, such as day and night modes, to enhance visibility and safety under different conditions.
- Why It Stands Out: Cygolite focuses on creating lights that are both powerful and practical for daily commuters and recreational cyclists. Their commitment to safety is evident in features like side illumination ports and steady pulse modes designed to catch the attention of motorists.
Each of these brands has its own set of strengths, making them leaders in the bike flashlight market. When choosing a bike light, consider what features are most important for your riding style and conditions, such as battery life, brightness, and ease of use. These brands are consistently praised for their reliability and performance, making them a great place to start your search.
Where to buy bike flashlight
Buying a bike flashlight can be as convenient as visiting your local bike shop or as easy as a few clicks online. Here’s where you can find a wide selection of bike flashlights to suit your needs:
Local Bike Shops
- Advantages: Personal service, the ability to see and handle products before buying, and support with installation or advice on the best choice for your needs. Supporting local businesses is also a plus.
- Consideration: Prices might be slightly higher than online, but the added value of personal service and immediate availability can be worth it.
Online Retailers
- Amazon: Offers a vast selection of bike flashlights from various brands, often at competitive prices. The customer reviews and Q&A sections can be very helpful in making a choice.
- Chain Reaction Cycles, Wiggle, or Competitive Cyclist: These are popular online cycling stores with a wide range of cycling accessories, including bike flashlights from leading brands.
- Brand Websites: Purchasing directly from the manufacturer’s website can sometimes offer the best deals, exclusive models, or bundles. Brands like Lezyne, NiteRider, and Cygolite sell directly to consumers.
Sporting Goods Stores
- Examples: REI, Decathlon, or MEC (in Canada) often carry a selection of bike accessories, including high-quality flashlights. These stores offer the advantage of seeing the product before purchasing and getting advice from knowledgeable staff.
Specialty Outdoor and Adventure Stores
- Stores focused on camping, hiking, and outdoor sports sometimes carry an excellent range of bike lights suitable for adventure cycling and bikepacking.
Canadian Laws about bike lights
In Canada, bicycle lighting requirements are primarily governed by provincial and territorial regulations, and there can be significant variations from one jurisdiction to another. Generally, these laws aim to ensure cyclists are visible to other road users during low light conditions, enhancing safety for both cyclists and motorists. Here’s a broad overview of what you might expect regarding bike flashlight (front lights) and reflector requirements across Canada, but it's important to check the specific regulations in your province or territory for the most accurate and up-to-date information:
Common Requirements Across Many Jurisdictions:
-
Front Light: A white front light visible from a considerable distance (often specified as 150 meters or more) is required when cycling during periods of low light (from half an hour before sunset to half an hour after sunrise, and any other time visibility is poor).
-
Rear Light or Reflector: Along with a front light, a red rear light or a red rear reflector is required for visibility from behind.
-
Additional Reflectors: Some jurisdictions also require white front reflectors, red rear reflectors, and clear or amber pedal reflectors to enhance visibility from all angles.
Specific Provincial Examples:
- Ontario: Under the Highway Traffic Act, bicycles must be equipped with a front light and a rear red light or reflector if ridden between half an hour before sunset and half an hour after sunrise.
- British Columbia: The Motor Vehicle Act requires a white front light and a red rear light to be used between dusk and dawn.
- Quebec: The Highway Safety Code specifies that bicycles used at night must have a white front light and a red rear light, in addition to reflectors.
Penalties:
Failing to comply with these lighting requirements can result in fines. The exact amount can vary significantly between different provinces and territories.
Additional Accessories for Bike Flashlight
In addition to a bike flashlight, there are several accessories that can enhance visibility, safety, and convenience for cyclists. These accessories can complement the effectiveness of your bike flashlight and ensure a safer ride under various conditions:
1. Rear Safety Lights
- Description: Compact, bright lights that attach to the back of your bike or clothing, usually emitting red light. They can be set to steady or flashing modes.
- Benefit: Increases visibility from the rear, particularly important in urban settings or during dusk and dawn rides.
2. Helmet-Mounted Lights
- Description: Small, lightweight lights that can be mounted on your helmet. Some cyclists use a white light in the front and a red light on the back of the helmet.
- Benefit: Offers adjustable visibility since the light points wherever you look, making it easier to signal turns and spot potential hazards.
3. Reflective Tape and Decals
- Description: Adhesive strips or decals that can be applied to your bike, helmet, and gear. They reflect light back to its source, such as a car's headlights.
- Benefit: Enhances visibility without relying on batteries, making you more noticeable in the beam of car lights.
4. Spoke Lights
- Description: Small lights or reflective elements that attach to the spokes of your wheels, illuminating the sides of your bike as the wheels rotate.
- Benefit: Improves side visibility, making you more visible from angles the front and rear lights don't cover.
5. Light-Up or Reflective Clothing and Accessories
- Description: Clothing items like vests, jackets, gloves, and backpacks designed with high-visibility colors and reflective materials.
- Benefit: Increases your overall visibility to others, especially in low light conditions, and offers the added benefit of identifying you as a human figure.
6. Handlebar and Frame Reflectors
- Description: Reflectors that can be attached to the handlebars, frame, or seat post of your bike.
- Benefit: Offers additional points of visibility without needing to be activated like lights.
7. Rechargeable Battery Packs
- Description: Portable battery packs that can be used to recharge USB-powered bike lights on the go.
- Benefit: Ensures your lights remain charged during long rides or when you don't have access to a power source, enhancing safety through continuous use.
8. Light Attachments and Mounts
- Description: Additional mounts and attachment options for positioning lights in various locations on your bike or gear.
- Benefit: Allows for customization of light setup to maximize visibility and safety according to individual riding habits and conditions.
When selecting accessories, consider the specific conditions in which you'll be riding, such as urban versus rural settings, the typical lighting in those areas, and the level of traffic. Combining several of these accessories with a good bike flashlight can significantly enhance your visibility and safety, making your rides more enjoyable and secure.
Conclusion
Bike flashlights are an essential component of cycling safety, especially for those who ride in the early morning, late evening, or under any conditions where visibility is compromised. They serve a dual purpose: ensuring the cyclist can see the road ahead and making the cyclist visible to others. The evolution of bike flashlights, from simple, manually operated lights to sophisticated, high-lumen, rechargeable LED models, reflects the growing importance of safety and technology in cycling.
Key takeaways about bike flashlights include:
-
Safety is Paramount: The primary function of bike flashlights is to enhance safety. Proper lighting can significantly reduce the risk of accidents by making cyclists more visible to motorists and helping them navigate dark paths safely.
-
Variety and Options: There is a wide variety of bike flashlights available to suit different needs, preferences, and riding conditions. Whether you need a high-beam light for unlit trails or a simple flashing light for city commutes, there's a product out there for you.
-
Legal Requirements: Many jurisdictions have specific laws regarding the use of bike lights, emphasizing their importance for cyclist safety. Compliance not only ensures your safety but also keeps you within legal requirements, avoiding potential fines.
-
Technology and Features: Modern bike flashlights come with various features, including adjustable brightness levels, flashing modes, rechargeable batteries, and durable, weather-resistant designs. These advancements have made lights more effective, convenient, and adaptable to different environments.
-
Maintenance and Care: To ensure longevity and reliability, it's crucial to maintain your bike flashlight. This includes regular charging, cleaning, and checking mounts and connections. Proper care will ensure your light is ready when you need it.
-
Complementary Accessories: Enhancing your bike flashlight with additional accessories, such as rear lights, reflective gear, and helmet-mounted lights, can further improve visibility and safety, creating a comprehensive lighting setup for all conditions.
In conclusion, investing in a high-quality bike flashlight and understanding how to use and maintain it effectively is crucial for any cyclist. The right lighting setup not only complies with legal requirements but significantly contributes to a safer and more enjoyable riding experience. As cycling continues to grow in popularity for commuting, recreation, and sport, the importance of bike flashlights and proper visibility cannot be overstated.